

I began simply by pouring small puddles of liquid latex on my counter-tops and tile flooring (surfaces I knew they wouldn't stick and ruin). I allowed them to dry and peeled them back with a generous dusting of Baby Powder so the latex wouldn't stick to itself or other pieces. I had to make several large pieces to cover the neck and connect to the face as well as have pieces for the arms and legs.
 |
| This made pooping very interesting. |
 |
| Peeling away the good stuff. |


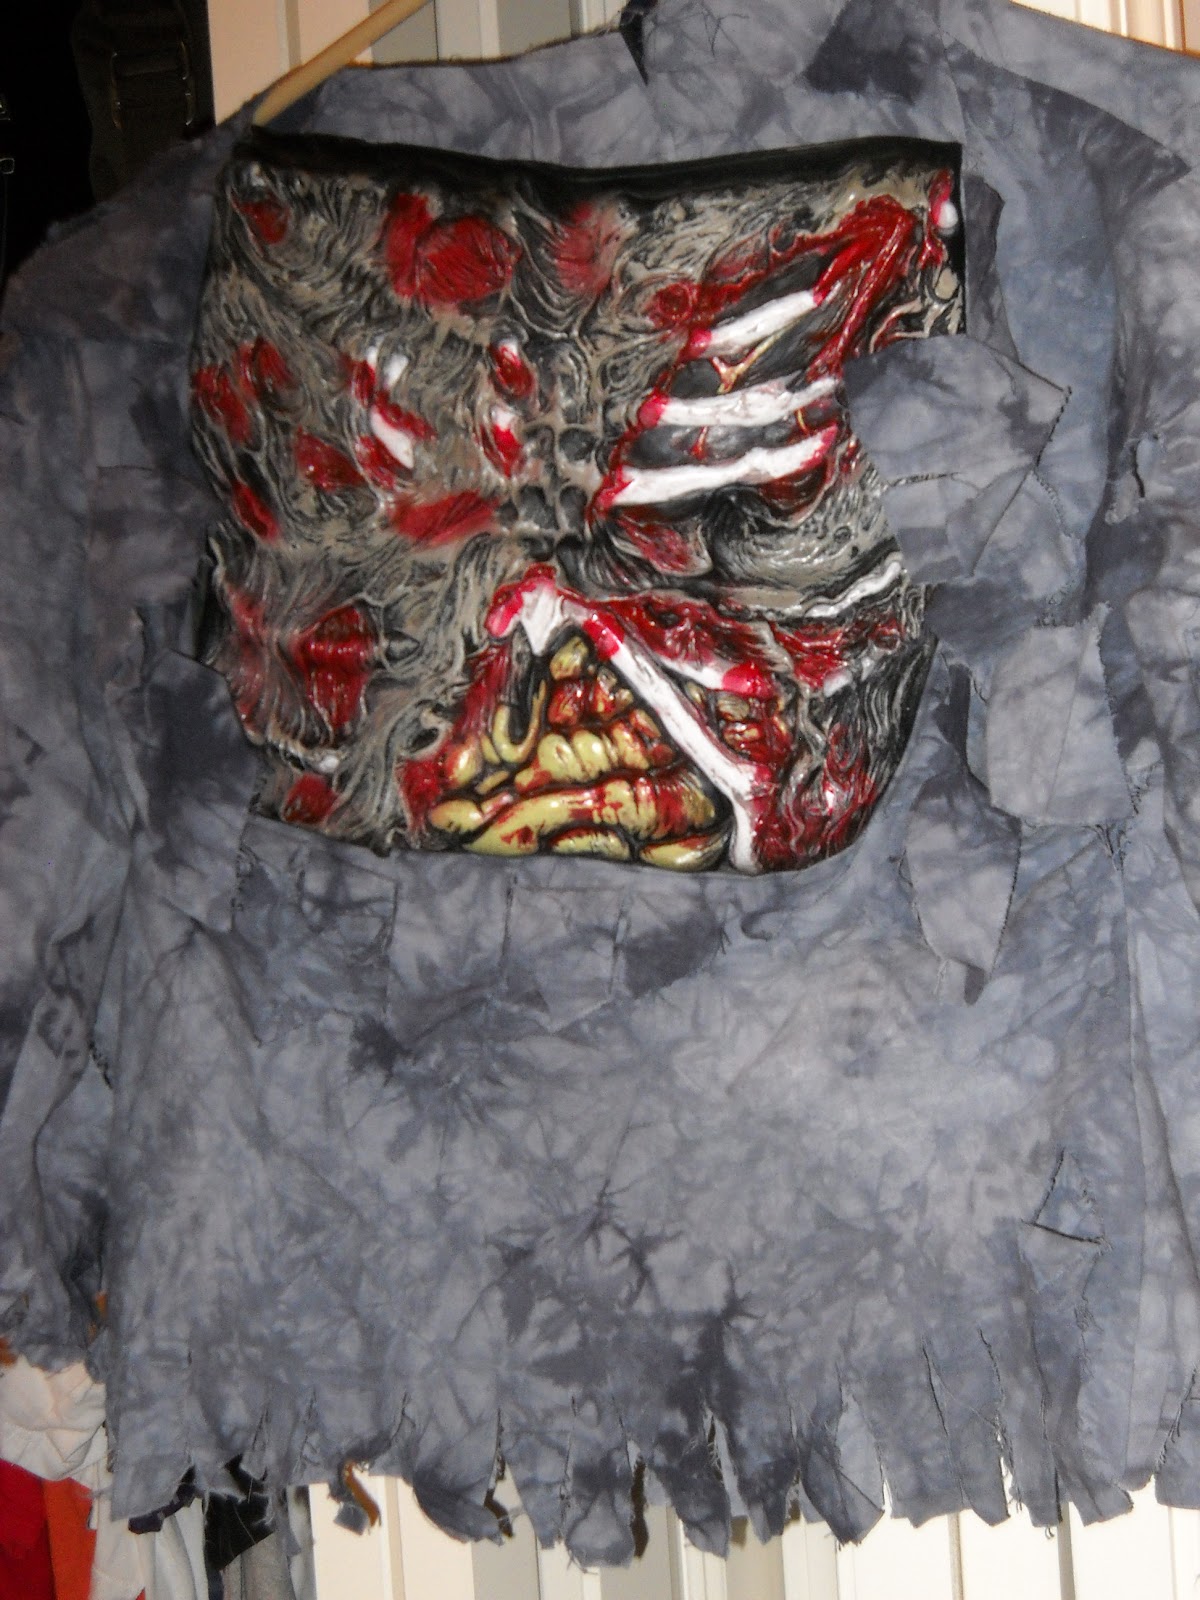
Here you can see how I glued the skin around the edges of the previous plastic pieces so the skin would hang, but also to hide how it was just stitched in and forgotten about. I still wanted bits of bone to be displayed and seen and all the grossness underneath.
 |
| Bone & muscle, ready to hustle. |
Here you can see how I added a bit of red cream make-up and further see the glued skin on the edges of the plastic pieces. I tried stretching the skin across to each side and letting them hang. I used about 3 different shades of red by using black and brown to create distinctive layers to the skin tone.


You can see a significant difference between the costume in the beginning and how it turned out now. with a little liquid latex, the "skin" was fashioned to Christopher and he then had a bit of brown and black and fake blood added to his hands.
My nephew Jake really wanted to be a Ninja like his cousin Morgan but he also wanted to be a Zombie like Christopher and being the rad Uncle that I am, I found Jake a Ninja costume at the last minute and two giant knives that bleed when turned up and down. Little did I know that both of them would share the same costume! TWIN DRAGONS!


I simply added a little black to Jake's eye sockets to him a bit more menacing. Easy, quick and handy in telling these two Ninjas apart.


My other nephew Joe went as a Pirate. He had wanted to go as "dead", I believe his 2 year old interpretation of what a zombie is, like his cousin. Joe had recently did quite the face-plant playing in the driveway days earlier and his healing scabs were better make-up than anything he'd sit through for me. Thee would've been no way I could have safely done a good zombie effect on him, especially since 2 year olds have the attentions spans of meth addicts watching television. All in all, Joe's probably the cuteness lil' scally-wag you ever did see.
 |
| Pirates & Ninjas - in Harmony?? |
 |
| My nephew and my handiwork. |
 |
| They're coming to get you, Barbara.... |

 |
| He's got guts. |
I knew I wasn't allowed to be off the hook for Trick r' Treating so I quickly assembled a costume from my make-up kit. I used the same shirt I had from the previous night and applied a small amount of "Black Blood" to my lips and mouth and let it drip down.
I then glued on an appliance to my right eye that served almost like an eye patch as it completely covered my eye and fit over my nose. Effectively I could only see out of one eye and the other one would have a speciality contact lens floating around in it and then I had to walk around at night, leading the way. I love me some Halloween.
I knew that blending my make-up just right was the only way to sell the "crooked dead eye" look. It almost looked like Sloth from GOONIES or one of the Hill People from THE HILLS HAVE EYES. I used one White Out contact lens, tussled my hair and voila!
 |
| Better than THRILLER, and with twice as much candy. |


 |
| Give us all your Candy!! |
Always wear a costume, be sure to travel with a partner, and never eat your candy without checking it first. See you next Halloween!!
No comments:
Post a Comment